If you’re eager to print directly from your iPhone, follow these straightforward steps to know how to add printer to iPhone.
Step 1: Confirm Printer Compatibility
Before beginning the setup process, ensure that your printer is compatible with iOS devices. Check the manufacturer’s documentation or specifications to verify support for iOS, especially if you aim for a hassle-free printing experience.
Step 2: Update Firmware and iOS
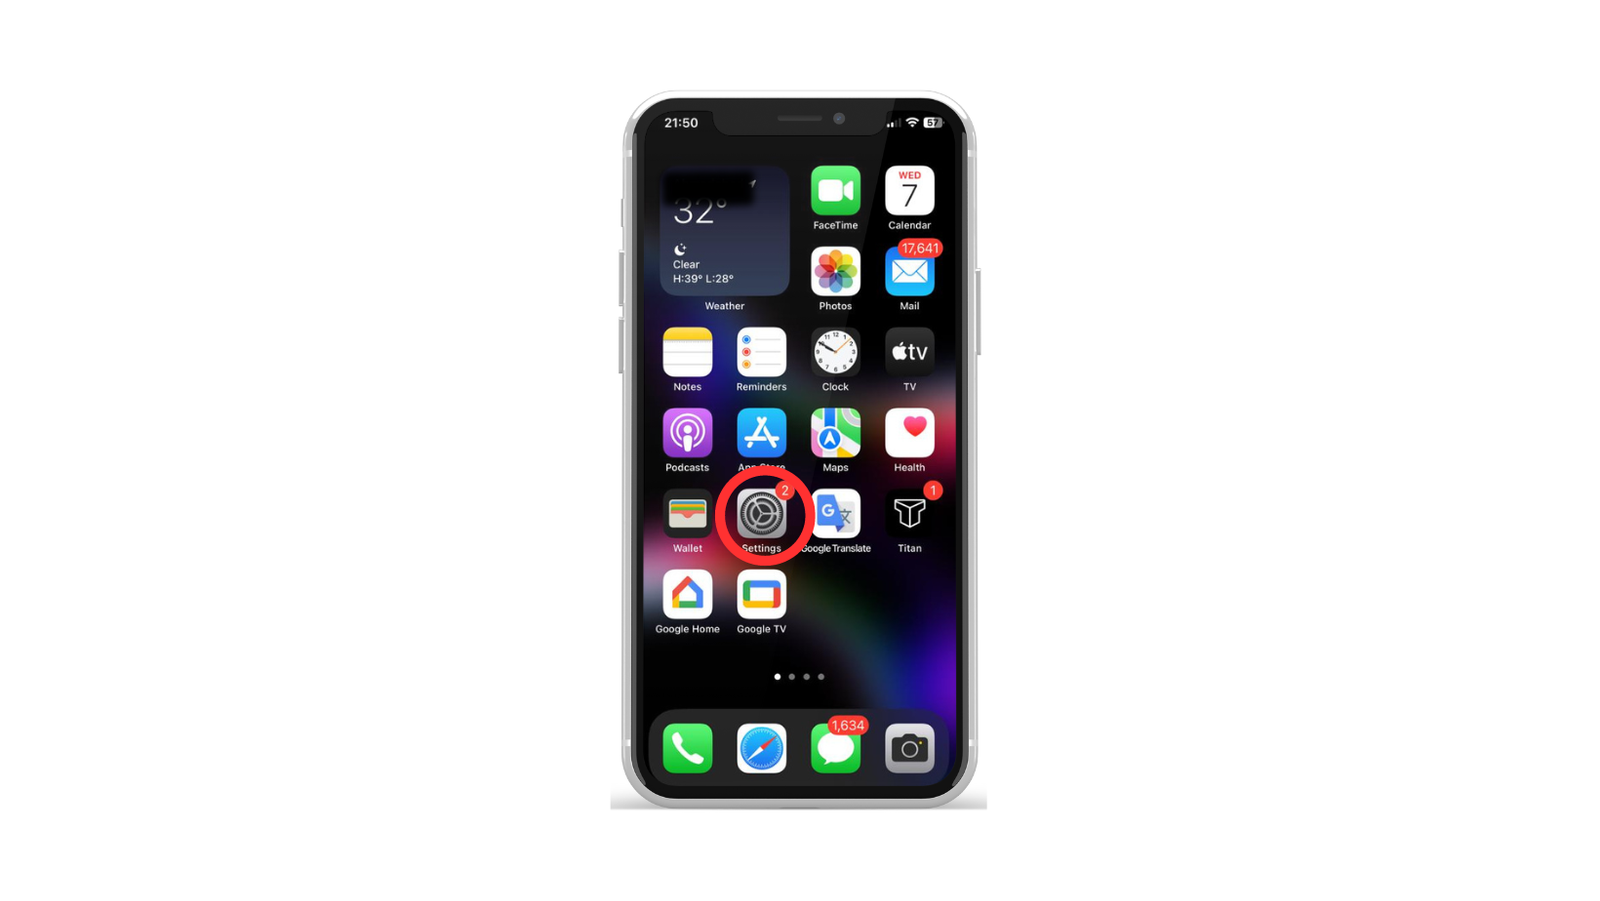
Keep both your printer and iPhone up-to-date with the latest firmware and iOS version. Regular updates often include enhancements and bug fixes that improve overall compatibility. Here’s a quick guide:
Step 3: Connect to the Same Wi-Fi Network
For successful communication between your iPhone and printer, connect both devices to the same Wi-Fi network. This ensures a stable connection and smooth data transfer during the printing process.
Step 4: Enable AirPrint on Your Printer
If your printer supports AirPrint, activate this feature in the printer settings. This step is crucial for direct communication between your iPhone and the printer.
Step 5: Access AirPrint on Your iPhone
- Open the document or image you want to print on your iPhone.
- Look for the ‘Share’ icon, usually represented by a square with an arrow pointing upwards.
- Scroll down and tap on the ‘Print’ option.
- Select your printer from the available options.
- Adjust print settings if necessary (number of copies, page range, etc.).
- Tap ‘Print’ in the top-right corner to start the printing process.
Conclusion
By following these simple steps, you’ve successfully added a printer to your iPhone, allowing you to enjoy the convenience of printing directly from your iOS device.
More iPhone Tips